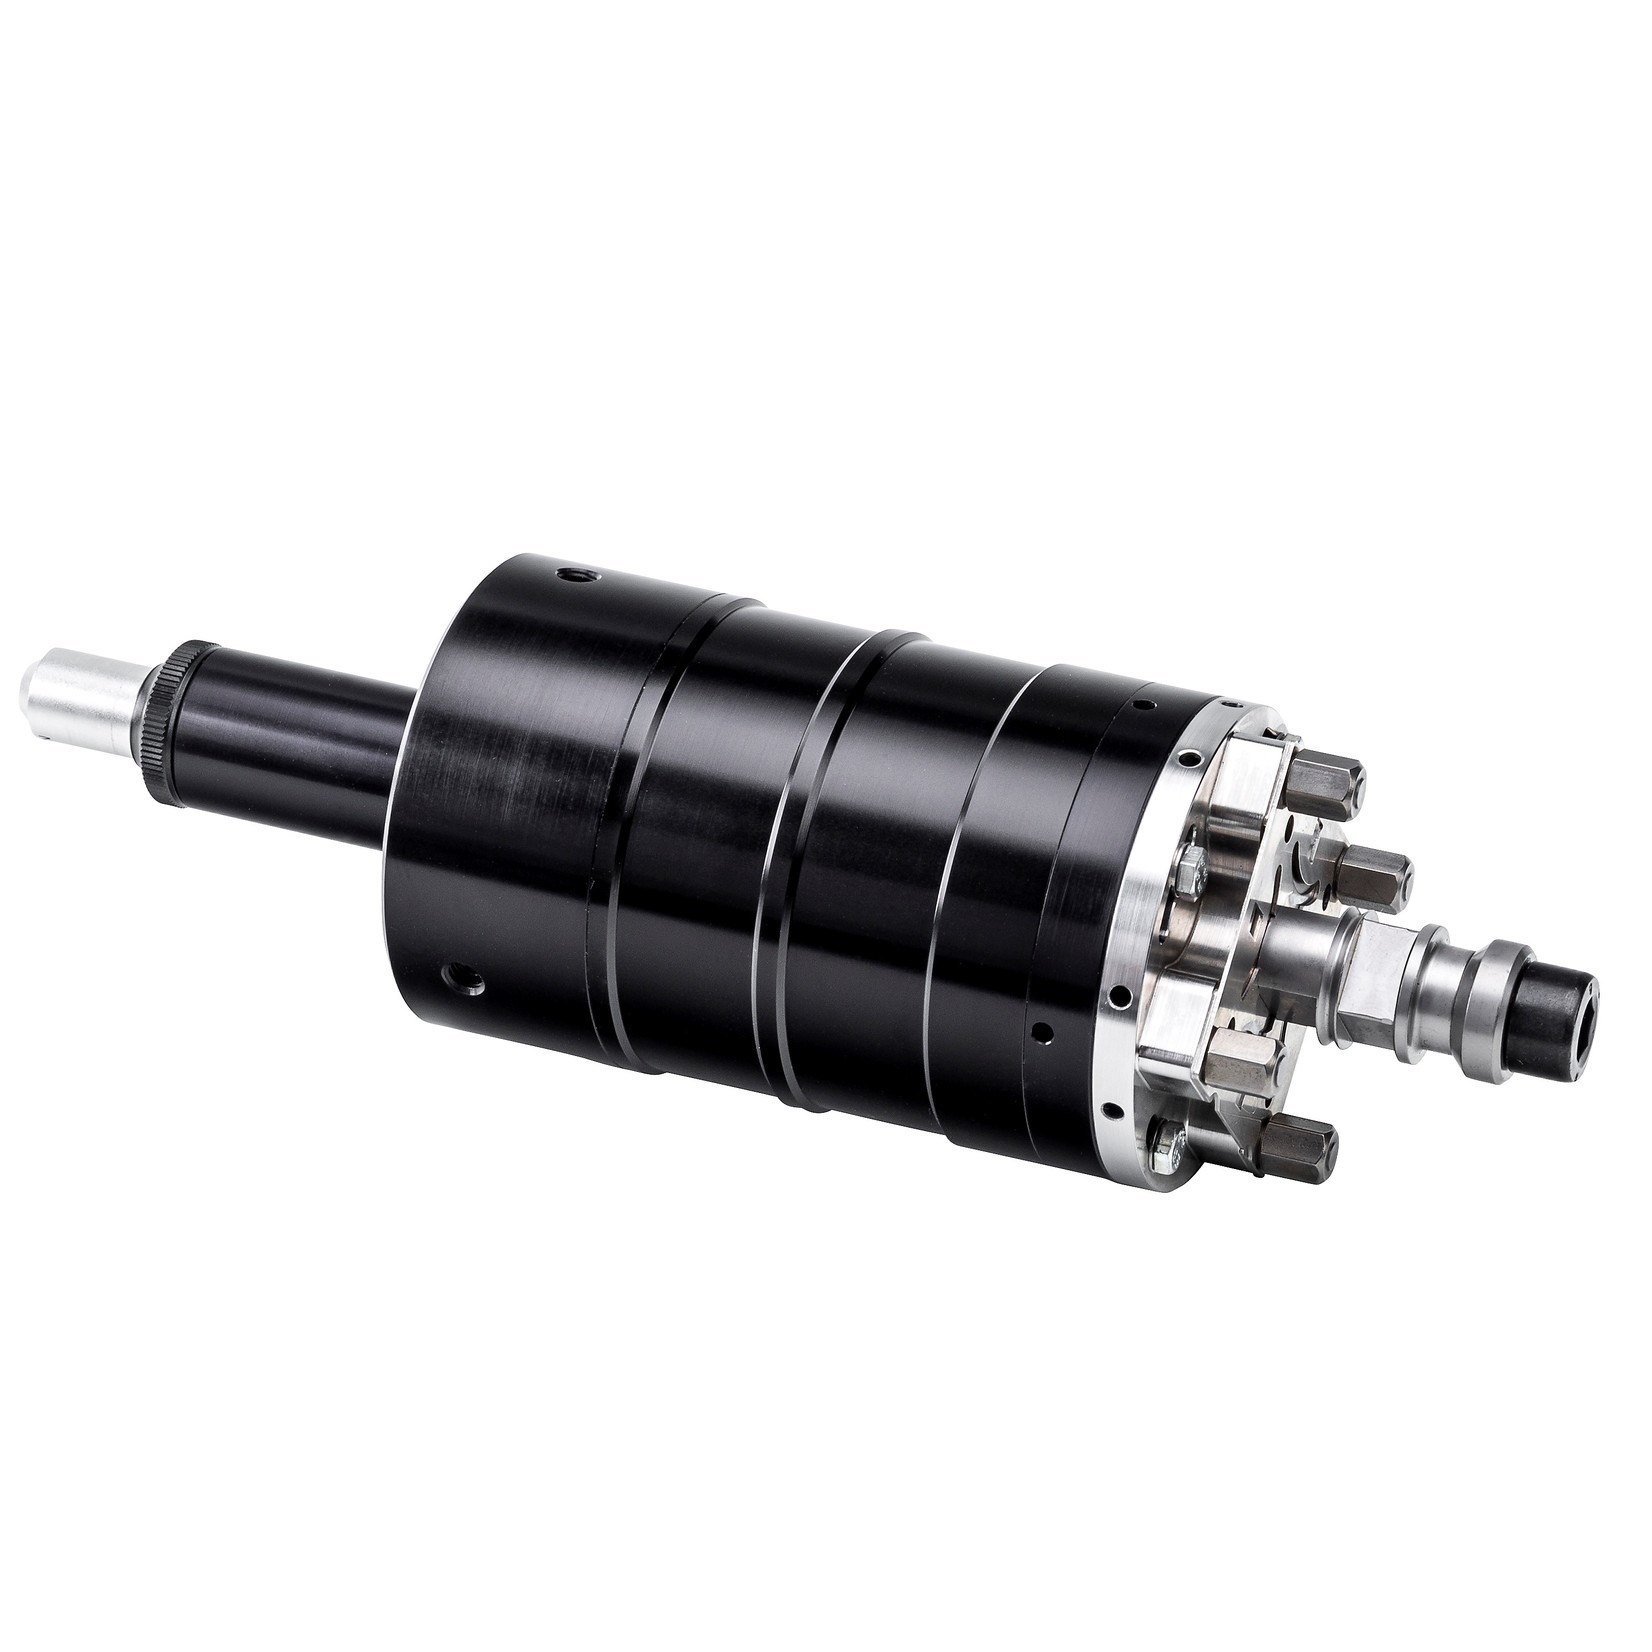
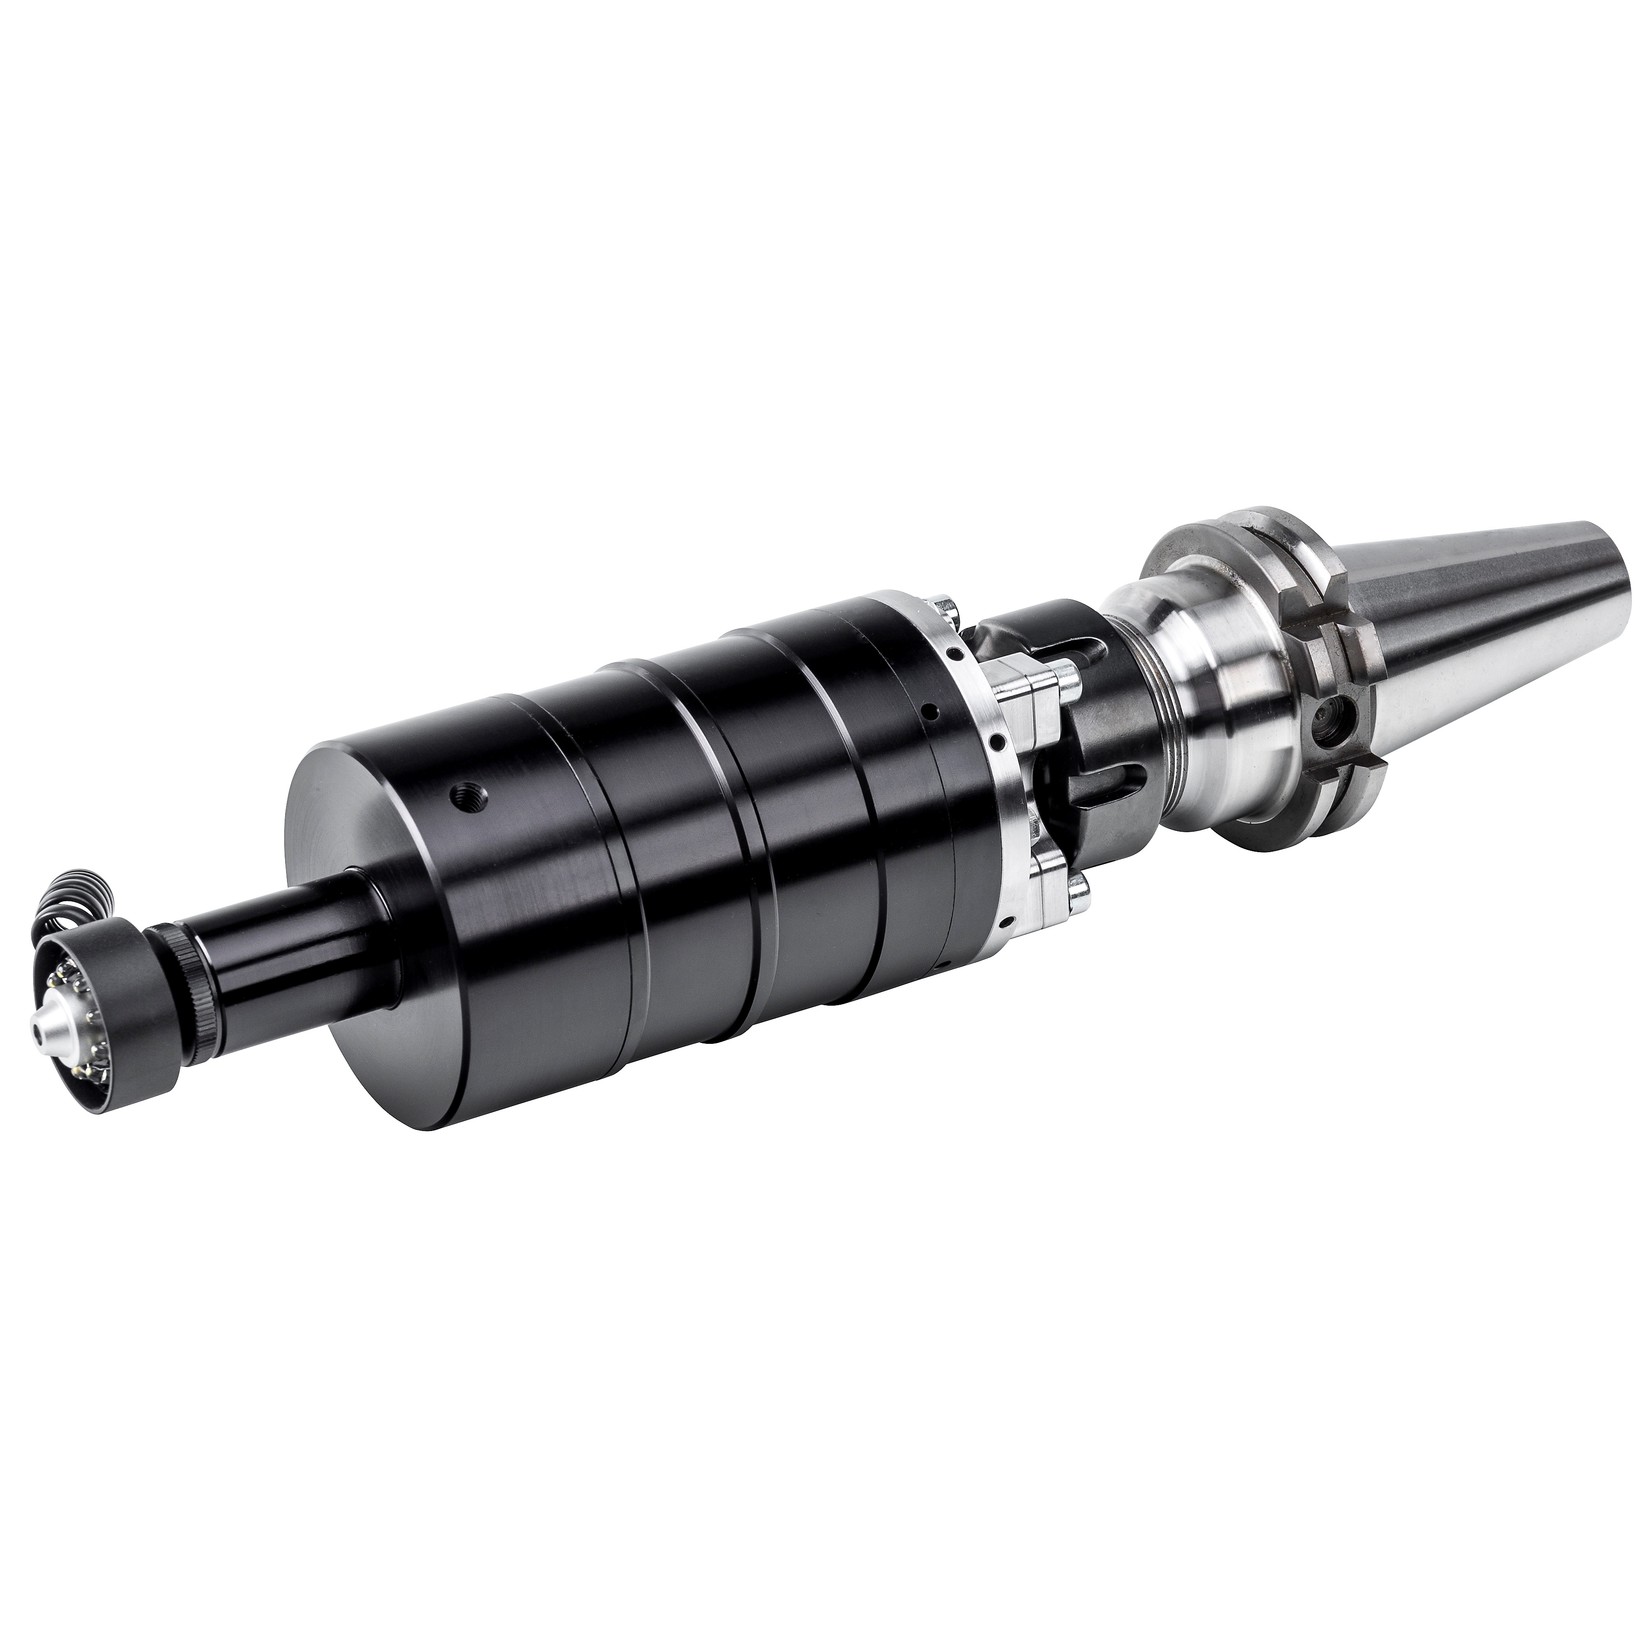
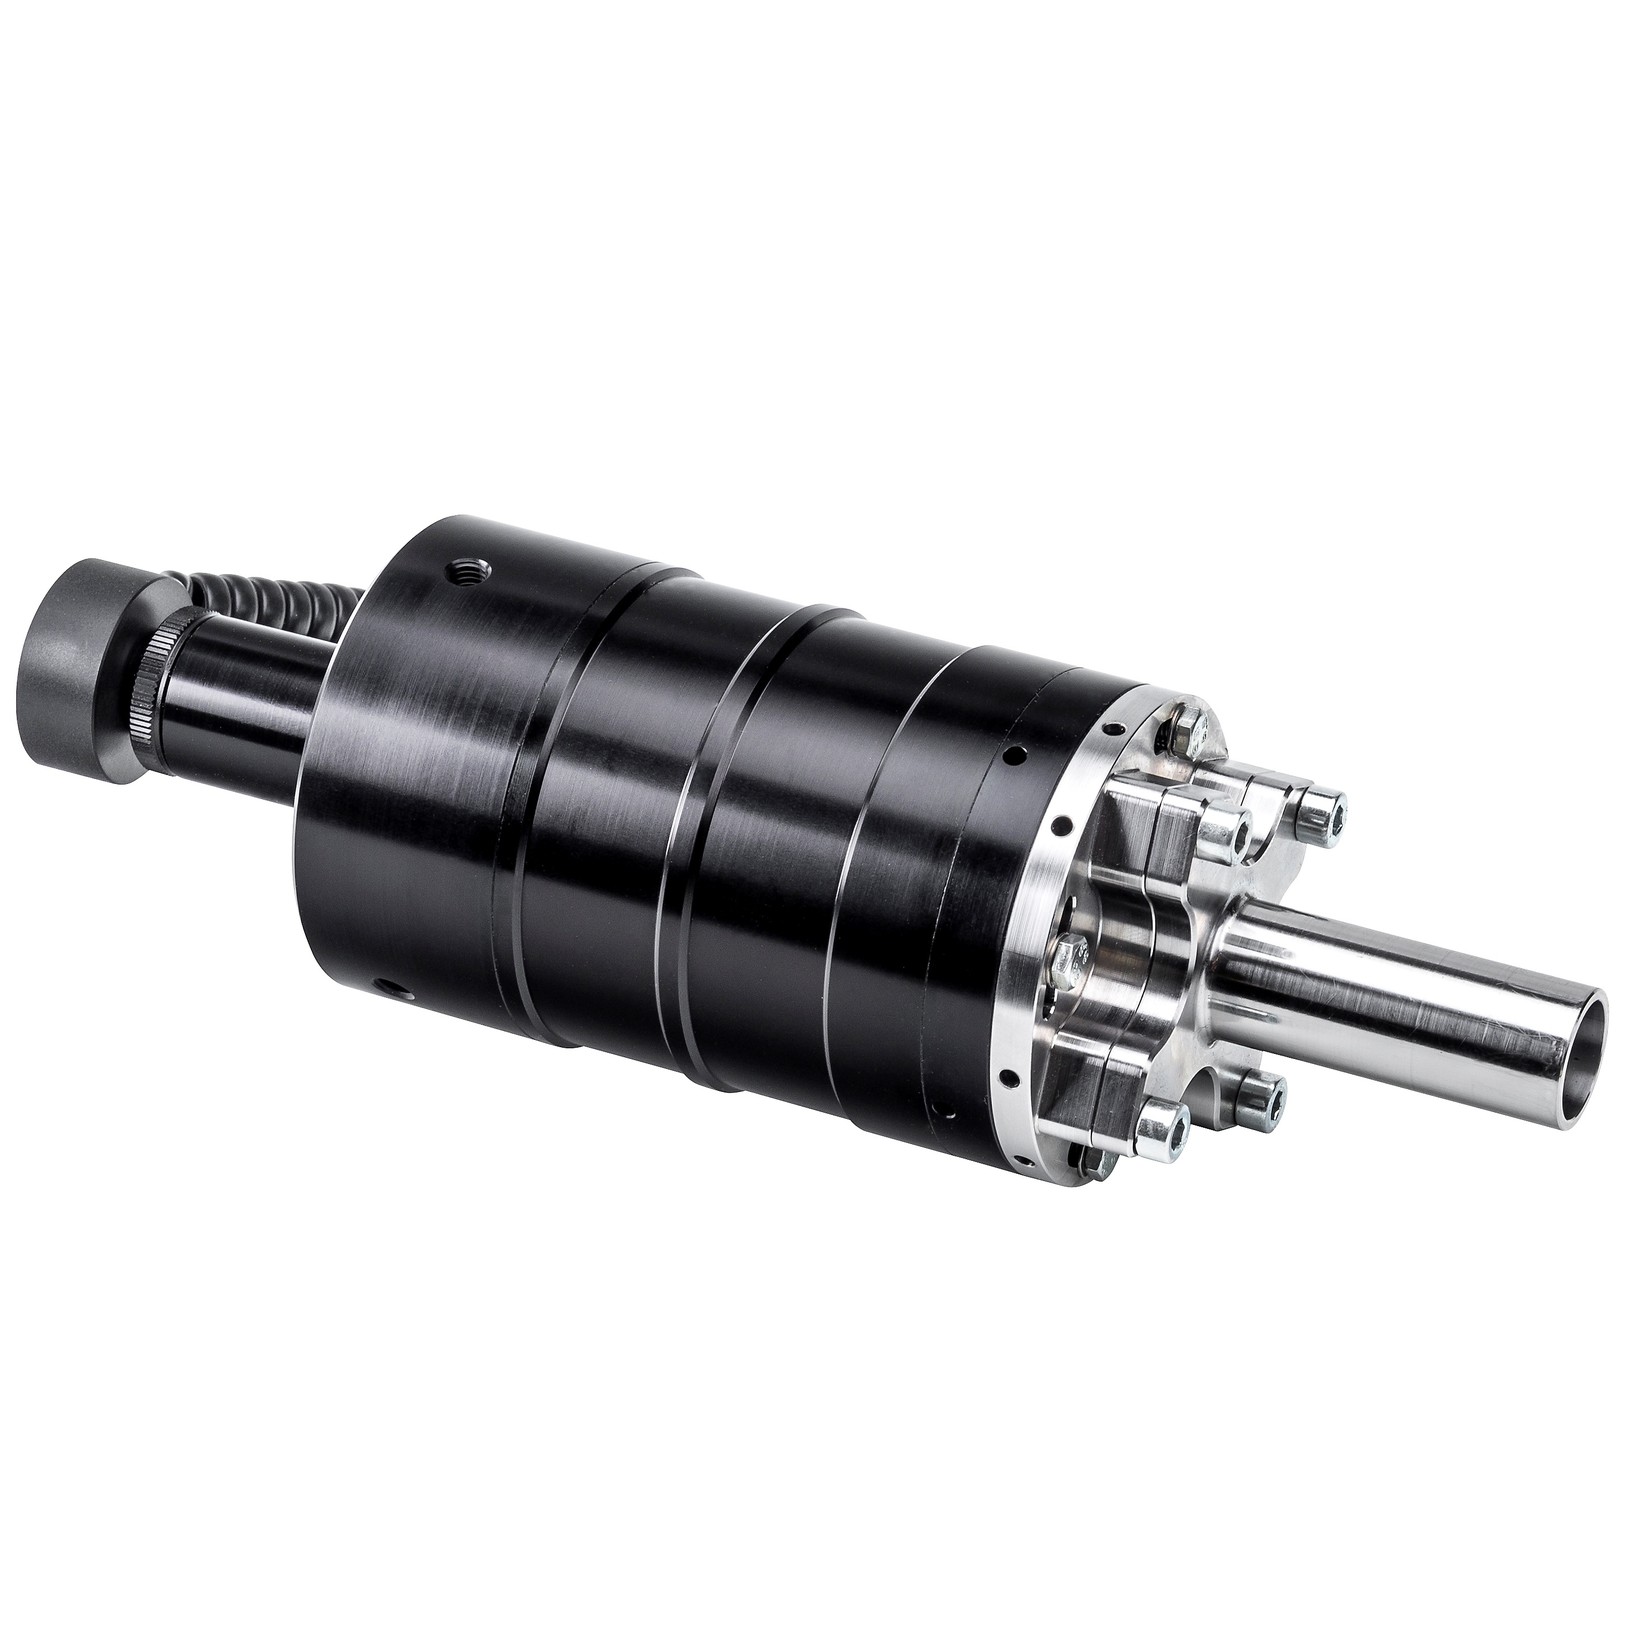
The small, easy-to-use USB camera system VZM is ideal for measuring XY distances in the workspace of modern CNC machining centres, die-sinking and wire erosion machines. Without clamping the components, filigree details can be viewed and measured optically - this is very helpful and time-saving, especially in borderline areas. Two magnifications are offered as standard systems:
- VZM-1µ
- Measuring accuracy +/- 0.001 mm
- Pixel resolution 0.0005 mm
- USB 2.0 camera 1600 x 1200 pixels, colour 1/3"
- Field of view 0.6 mm
- Lens 15x
- Working distance approx. 10 mm
- Magnification approx. 400x on 24" screen
For die-sinking and wire-cut EDM machines, the system is supplied with an original Erowa mount. For machining centres (VZM-BAZ) we offer alternatively a shaft mount with 20 mm diameter.
In combination with the Metric MT measuring software, measurements such as distances, angles, radii, surfaces within the field of view are possible. The connection to Excel enables a quick documentation of the images and the measured values. Functions such as the DXF overlay module facilitate control. Depending on the machine control, it is possible to read out the XY and Z coordinates (see description of Metric measuring software). This means that all measuring functions can be used over the entire range of the machine's travel limits. Please contact us to clarify whether this is possible with your machine.
The ring light with nine LEDs arranged at an angle of 30° provides excellent illumination of the parts. The ring light is supplied with power via the camera. In addition to the camera system with LED ring light, the scope of delivery includes a calibration disc with 0.01 mm graduation and DAkkS protocol as well as an aluminium transport case. The measuring software is not included in the price. Three versions are optionally available here: Metric BE (crosshairs only) Metric PE (standard version) and Metric MT.
In the case of the systems for die-sinking and wire erosion, the holders are adjusted in a machine with regard to the axis alignment. However, this alignment must always be checked again before use in your machine and corrected if necessary.
The systems for machining centres (use with collet chuck) also receive a basic adjustment, which must, however, be readjusted after being mounted in the collet chuck and machining centre. In any case, it is recommended to order one day of installation and training with the system.


