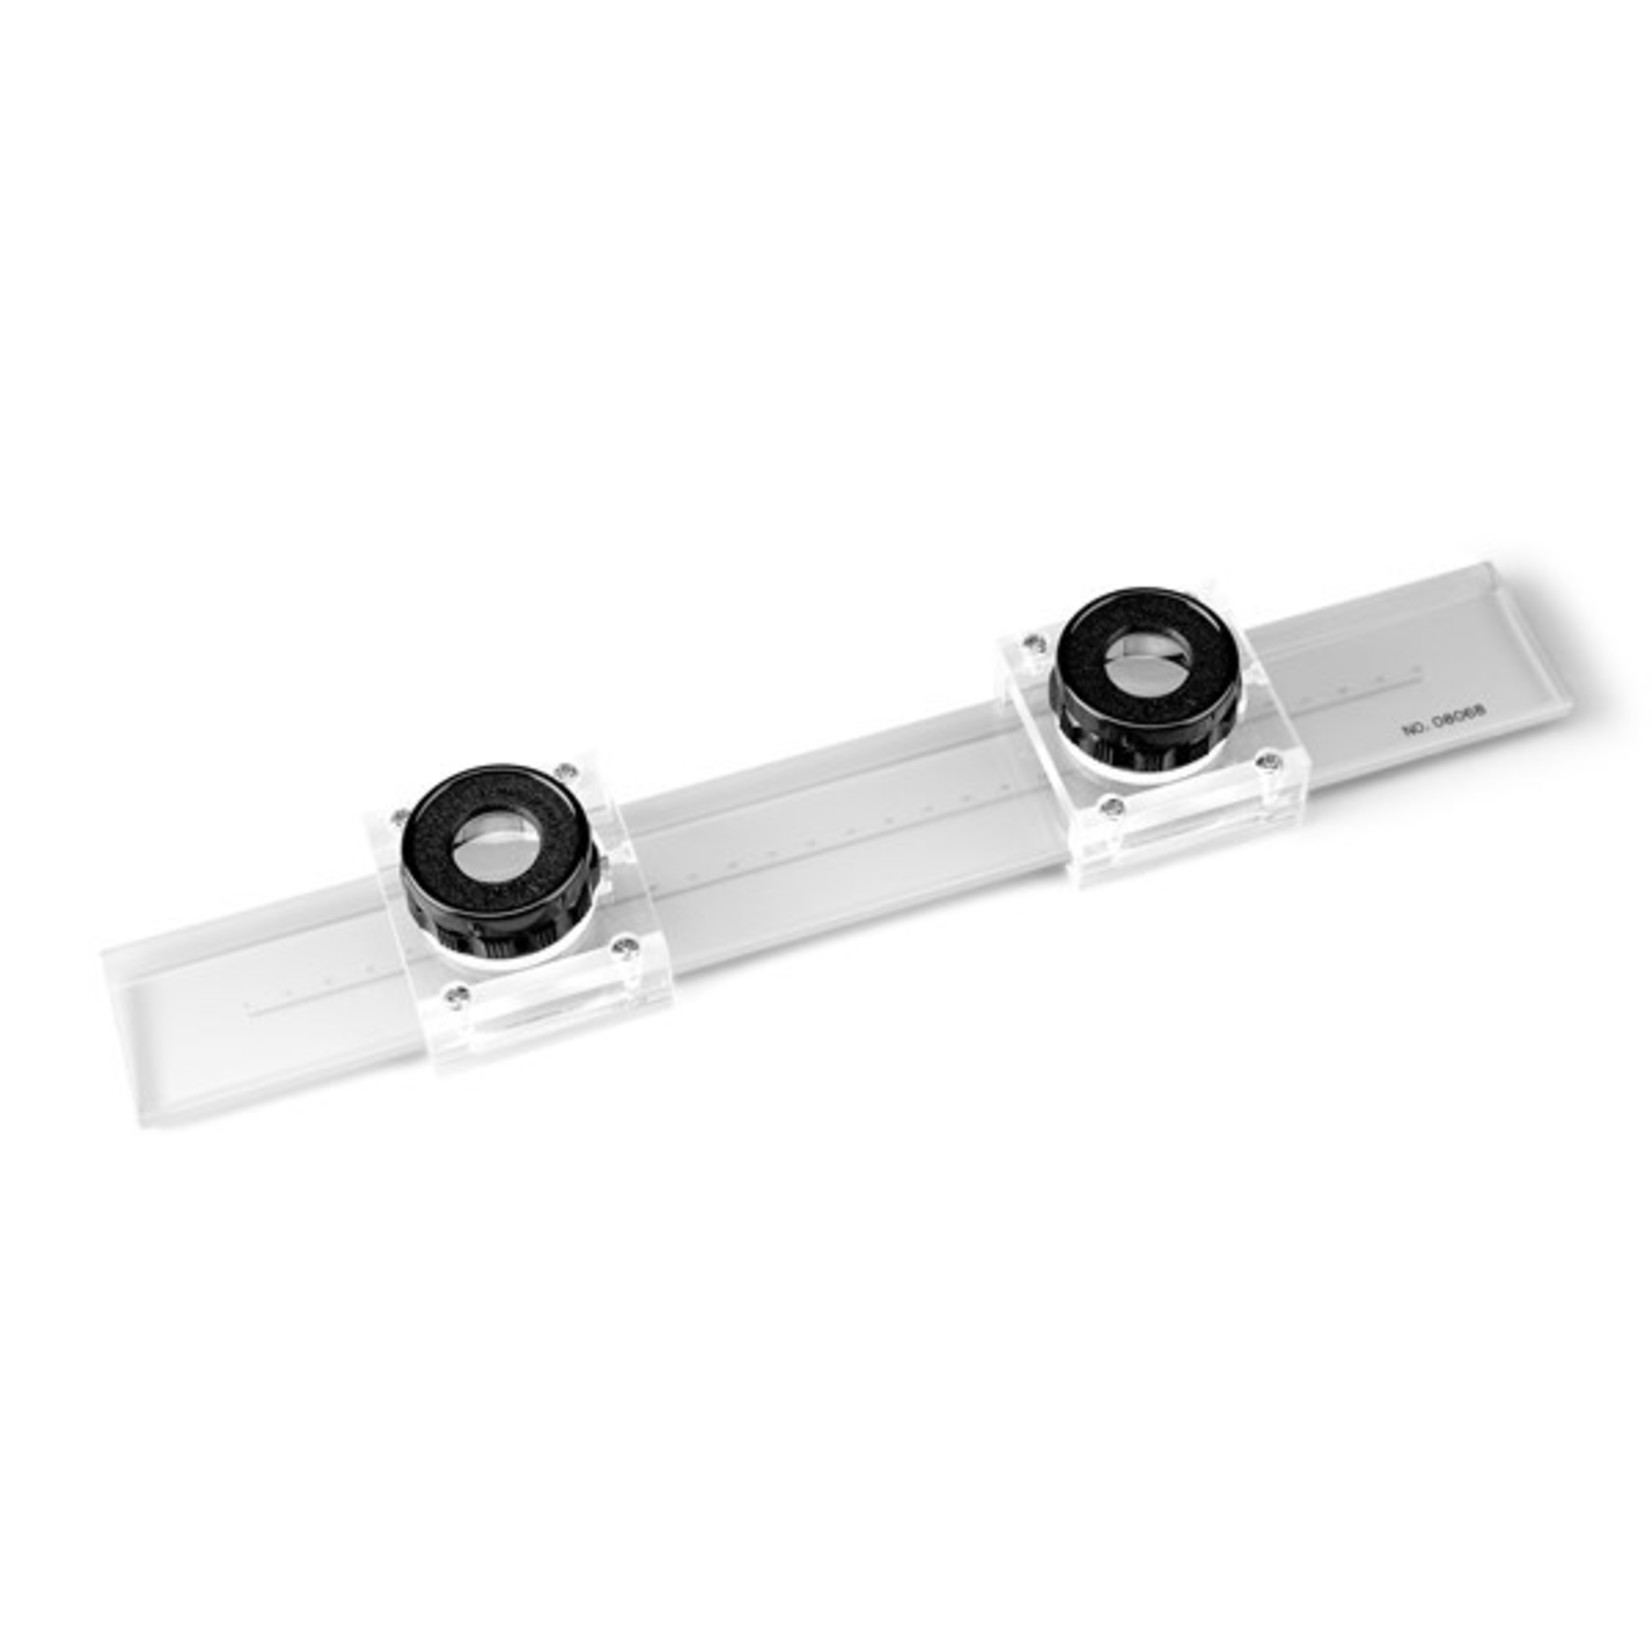
Measurement of greater distances with measuring magnifiers is possible only to a limited extent due to the length of the scales. PEAK glass measuring rods are the optimum supplement for quick and simple determination of lengths and distances. The four lengths of 300 mm, 500 mm, 700 mm and 1.000 mm are supplied with two achromatic, focusable, 10 x reading magnifiers (see measuring magnifier 1983). The magnifiers on these measuring rods have a field of view of 20 mm. The acrylic mounts for the magnifiers have leaf springs integrated into the sides to prevent them from slipping. Separate silk lined boxes are included for the glass measuring rod and the two magnifiers. The graduations are 01 mm The graduations with a width of 0.02 mm are marked in five heights (in Y) on the measuring rod. Graduation 0.1 mm = 1.0 mm, Graduation 0.5 mm = 1.4 mm, Graduation 1.0 mm = 1.8 mm, Graduation 5 mm = 2.4 mm and Graduation 10 mm = 3.0 mm.
When measuring lengths and distances it is necessary to ensure that the scale is parallel to the object to be measured, to prevent measuring errors. A calibration certificate is not included with 1972-S glass measuring rods, produced in compliance with international standards.
If desired the rods can be supplied with a calibration certificate This increases the delivery time by approx. 20 days. To make on offer for the calibration certificate we require information on the number of measuring points/distances required in the calibration certificate.
Technical data for glass scales 1972-S:
- Measuring scale: Graduation = 0.1 mm , inscribed 0 10 20 ... (mm)
- The graduations and numbers applied to the glass body are razor-sharp and scratch-resistant.
- The graduation mark thickness is 0.020 mm.
- Accuracy of graduation ± (0.003 mm + 3L / 1,000,000) (The dimensions refer to 20°C)
- Coefficient of thermal expansion: 9 x 10⁻⁶ / 1K
- Refractive index = 1.5195
- Material = Float glass (selected)
- Scale not averaged / centred on glass body! (multiple use) Length of glass body = see below
- Width of glass body = 49 mm
- Thickness of glass body = 9,8 mm
Available in lengths (measuring range of the scale):
- 500 mm / 20" = total length 560 mm (± 1mm)
Glass measuring rods 1972 data sheet
1.870 MB, 22.02.2022, PDF


