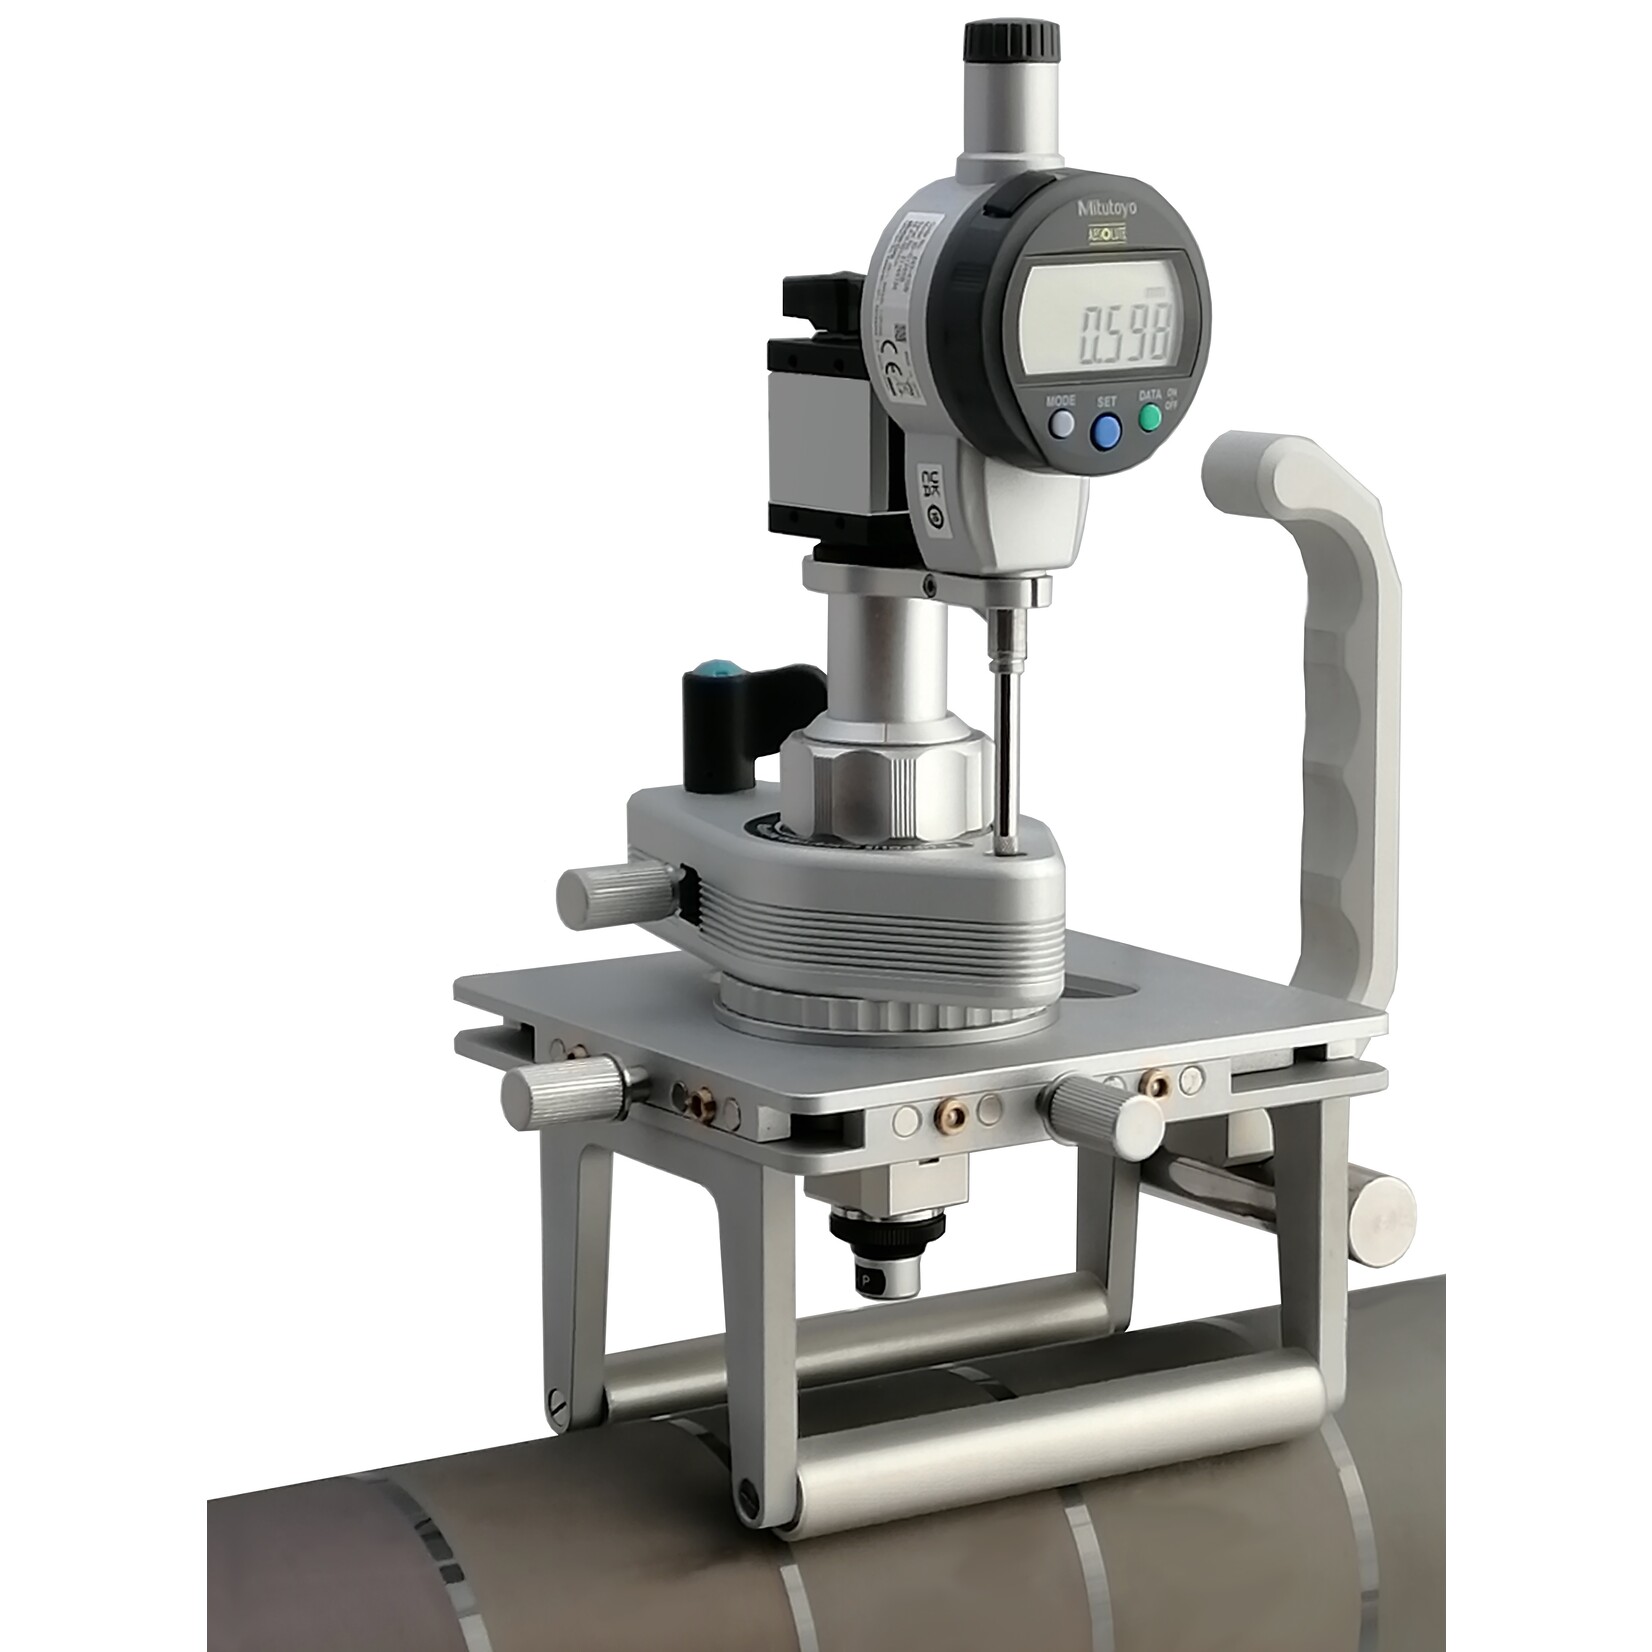
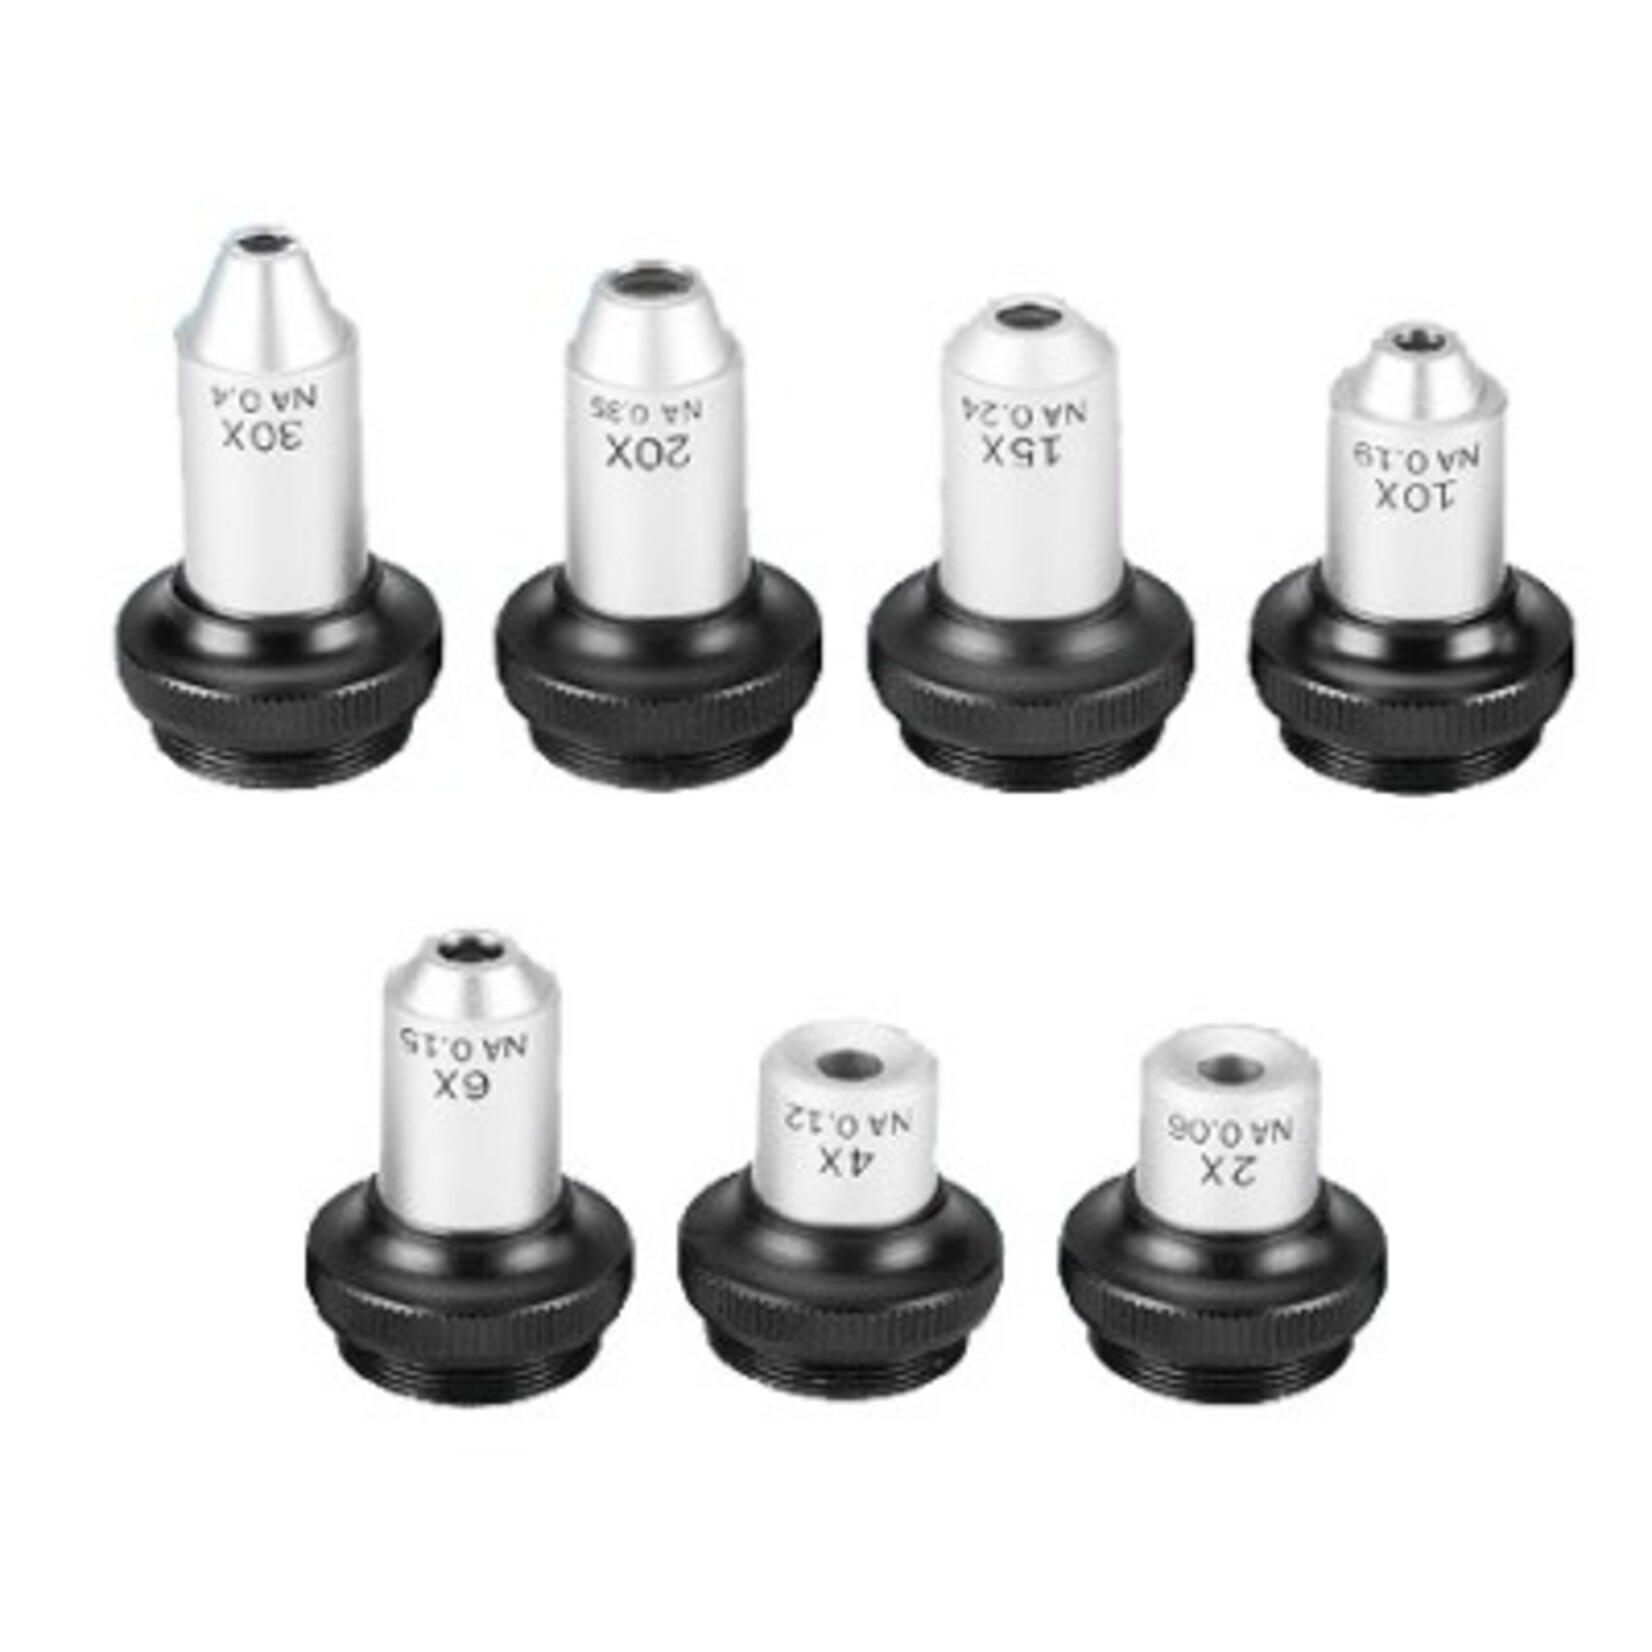
Cellcheck CIL-XY-Z: The ideal helper for depth measurements. The digital dial gauge measures the distance between two planes of focus for non-contact determination of the drill hole depth in printed circuit boards or the cell depth in anilox rollers and gravure cylinders. In order to keep the depth of field as a possible source of error to a minimum, the measurement must be carried out at a very high magnification. The scope of delivery of the measuring system therefore includes lenses with a magnification of approx. 900x and 1350x. The magnification refers to the display on a PC monitor with at least 17" The USB 2.0 camera with 2,592 x 1,944 pixels (5 MP) delivers high-quality images that can compete with leading metallurgical microscopes. The scope of delivery also includes objectives with 200x, 320x and 475x magnification, a transport case, a 0.1 mm calibration disk with DAkkS protocol and the Metric measuring software.
The virtually backlash-free drive enables precise focusing of the focal planes. Important for an optimum measurement result: Always focus the upper and lower planes of focus from the same side. This is the only way to ensure that no inaccuracies are included in the measurement. Coaxial illumination directly through the lens plays an important role here. This is the only way to precisely identify the focal planes. The focusing lever can be moved to the side for quick adjustment. The tripod ensures a secure stand when measuring depth on rolls or flat material. The backlash-free X and Y adjustment of five millimetres allows the focus planes to be moved forward at high magnifications if they can no longer be detected in the field of view.
The image shown here of an anilox roller (screen roller) from flexographic printing shows the type of images that can be achieved with a 20x objective (approx. 900x magnification). The system is first set above the upper focus point. It is then focused downwards, eliminating the remaining backlash. As soon as the upper focal plane is reached, the dial gauge can be set to zero and focus can be continued up to the second focal plane (bottom of the cup). The measured value is then read from the clock or transferred to the Excel protocol via an optional data transfer cable and interface. The advantage of this method is that the value of the depth gauge is also displayed in the Metric mask or, if the interface is used, the dial gauge does not even need to be touched.


The Metric PE or Metric MT software is available for measurement and documentation. With Cellcheck CIL-XY-Z, images can be easily saved or image and measurement results can be documented in Excel or PDF. The software can be installed on any number of computers and is activated using a dongle so that the system can be used by several people. The measuring software is calibrated using the supplied calibration disk with a graduation of 0.1 mm and a DAkkS protocol. After calibration, the measuring software automatically creates a calibration protocol which, in conjunction with the DAkkS protocol of the calibration disk, enables reliable traceability to national standards.
With the Cellcheck CIL-XY-Z, you get a powerful measuring system for precise depth measurements that can be seamlessly integrated into your measuring equipment management system and delivers accurate and reliable results.
Application examples: Printing: Testing of embossing rollers, polymer printing plates, anilox rollers, gravure cylinders, clichés. Glass and silicon: Testing of thin-film and silicon wafers in photovoltaics.


