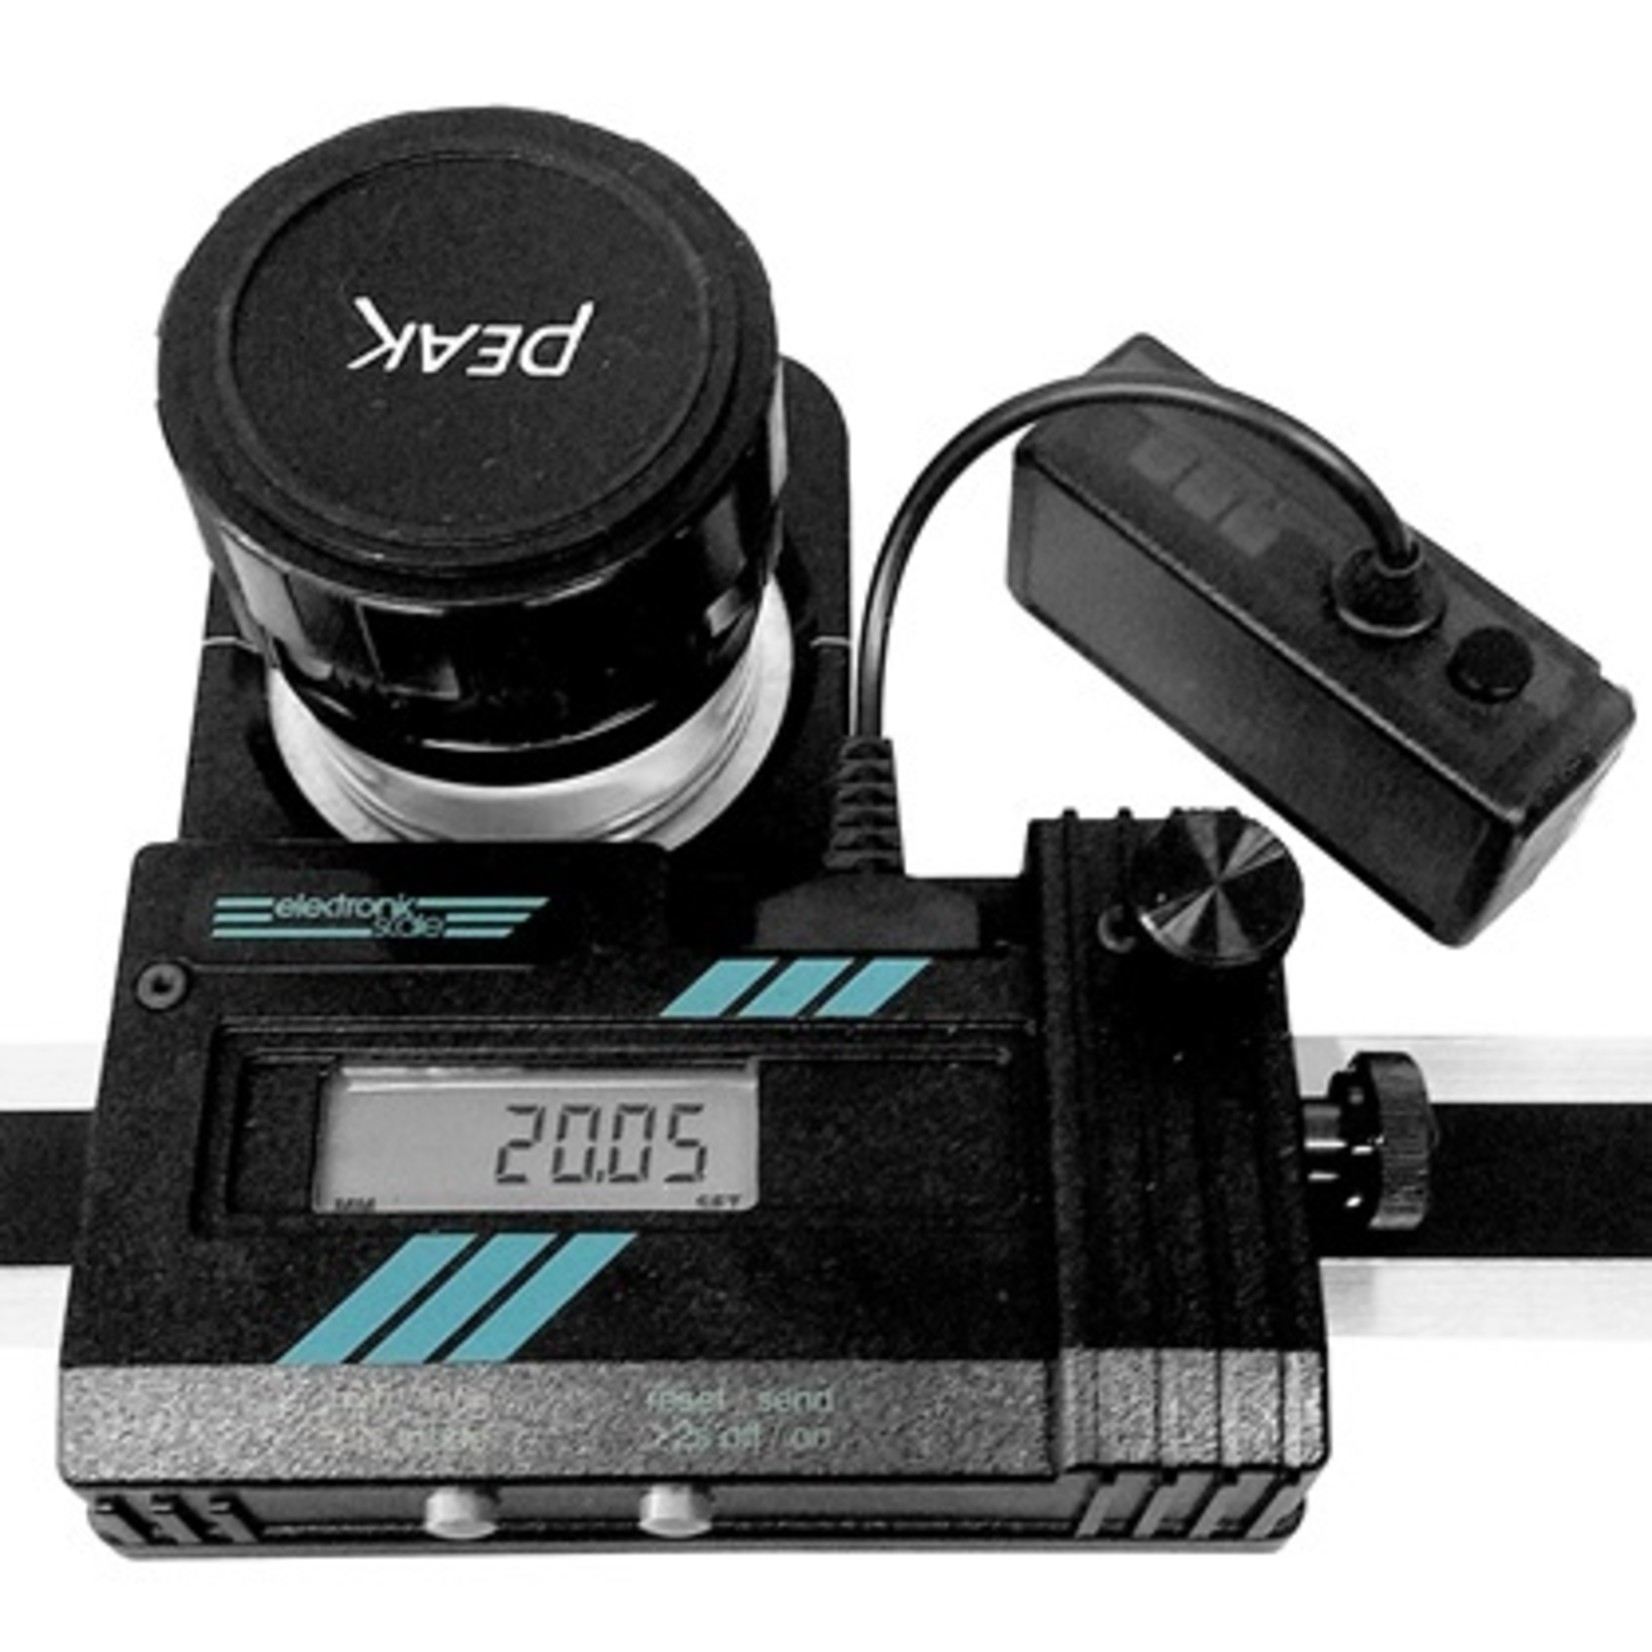
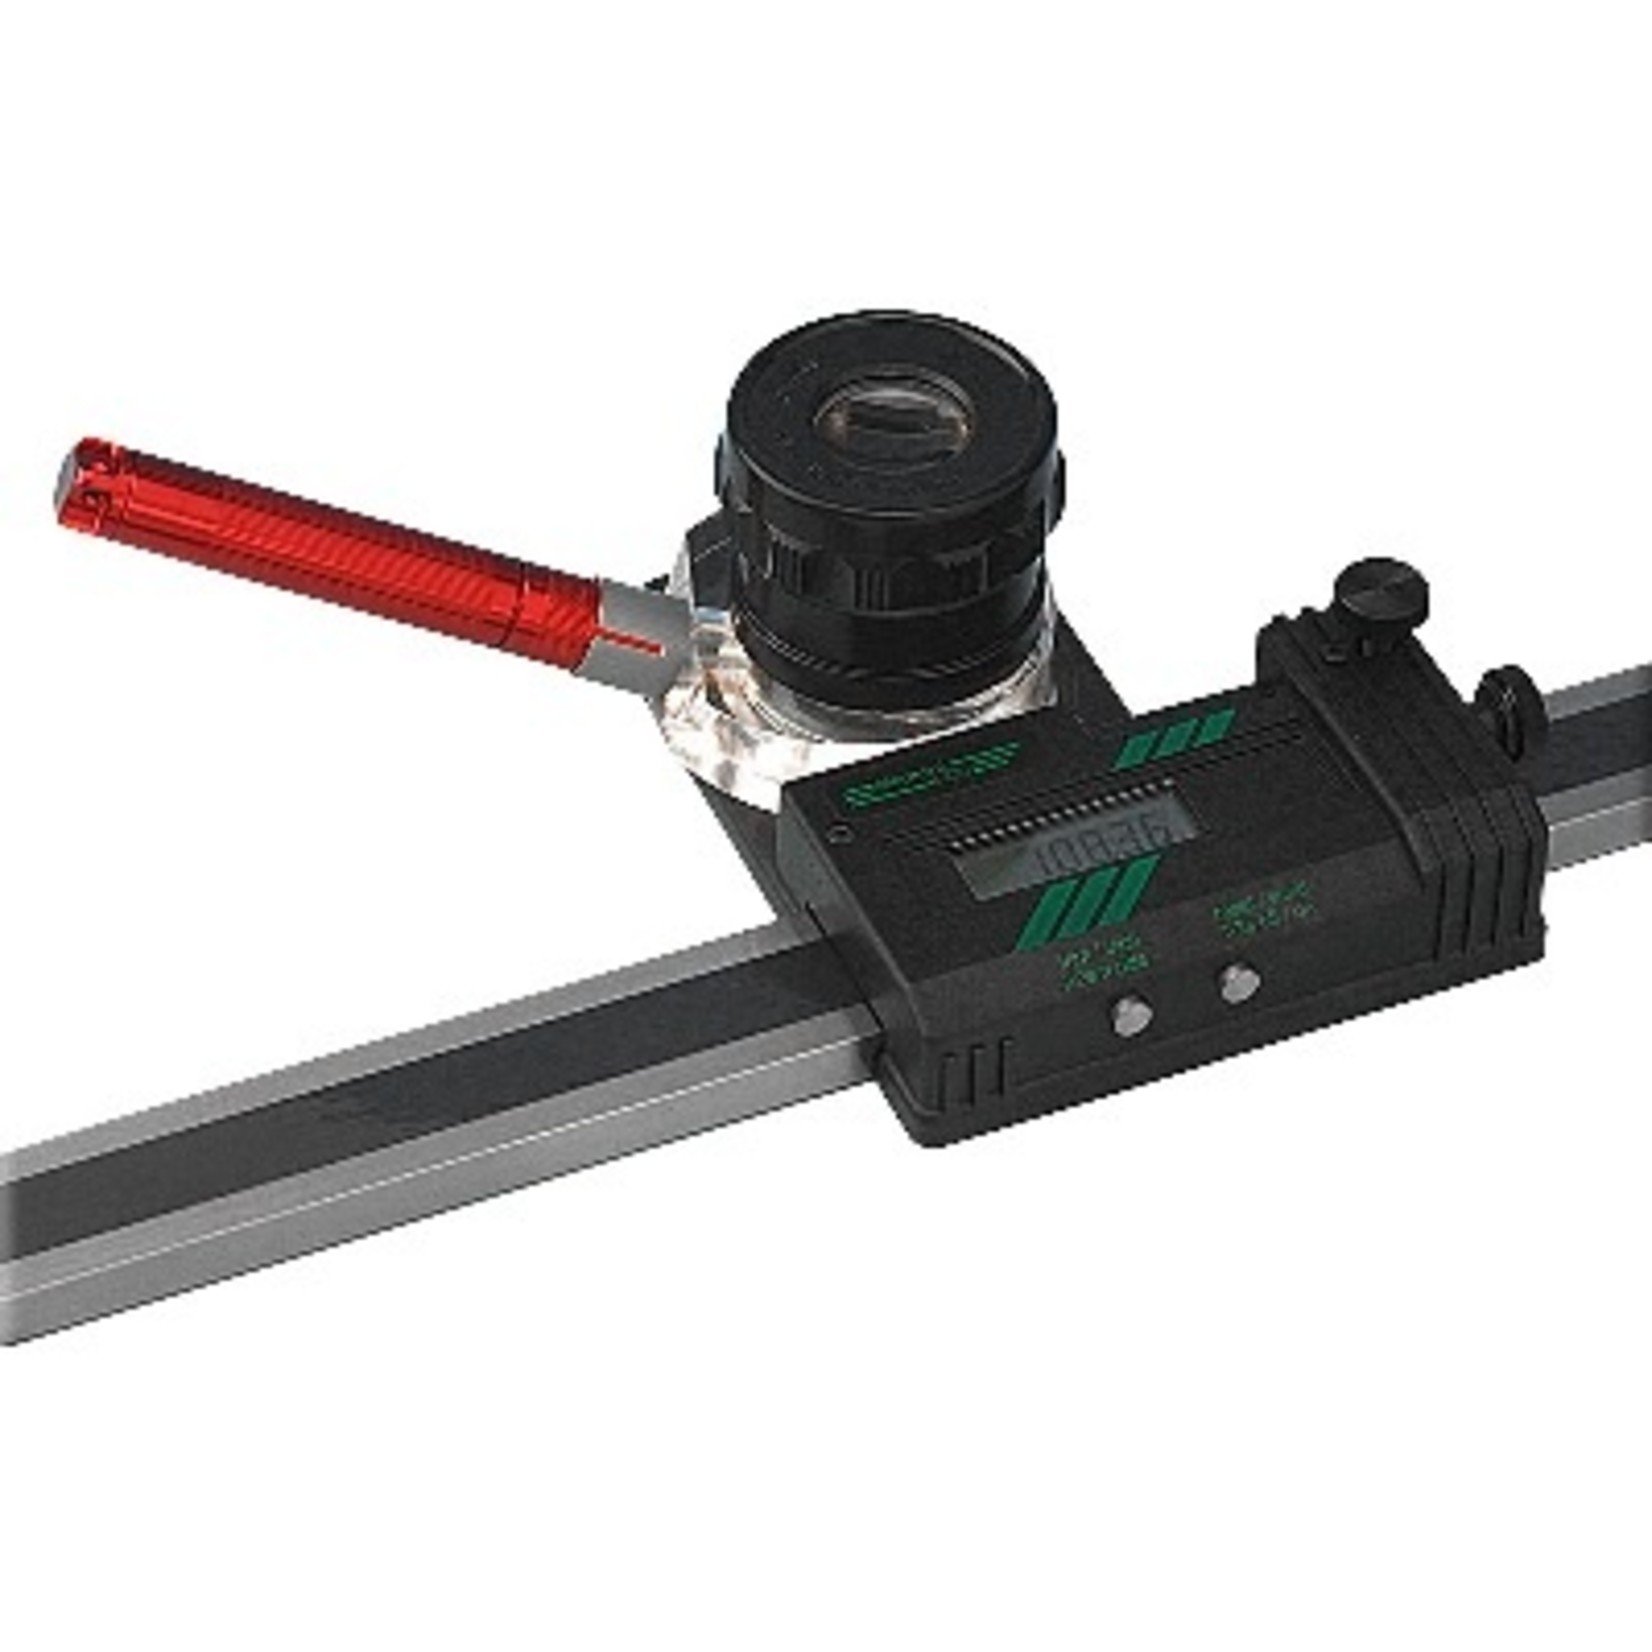
Use of the Electronic Scale makes length measurements simpler. The hardened stainless steel guide has an inductive strip. This provides the electronics with the information on the momentary position of the measuring carriage running play and wear-free on longitudinal ball bearings. The coated, four lens optical system with 10x magnification factor makes it possible to move precisely to the measuring point. The magnifier has a fine focus for adjustment to your specific correction. The magnifier is equipped with a reticule plate for exact positioning of the measuring carriage. The hard chrome vapour-coated graduations on this plate ensure precise readings. An ingenious parallax control ensures that the viewing angle is perpendicular to the lens. This easy-to-read display with six millimetre high characters shows a maximum resolution of 0.10 millimetres or 0.0005 inches. A fine adjustment is located immediately next to the display. The vertical arresting screw arrests a part of the measuring carriage. The horizontal positioning screw moves the carriage sensitively to the measuring point. The zero point for the measurement can then be set by pressing the reset button. After moving the carriage to the second measuring point the result can be read off on the display. The system has an RS232 interface. This allows serial transfer of the values to the computer. An RS232-compatible interface cable with optical coupling or, as an alternative, a radio transfer system is available for data transfer.
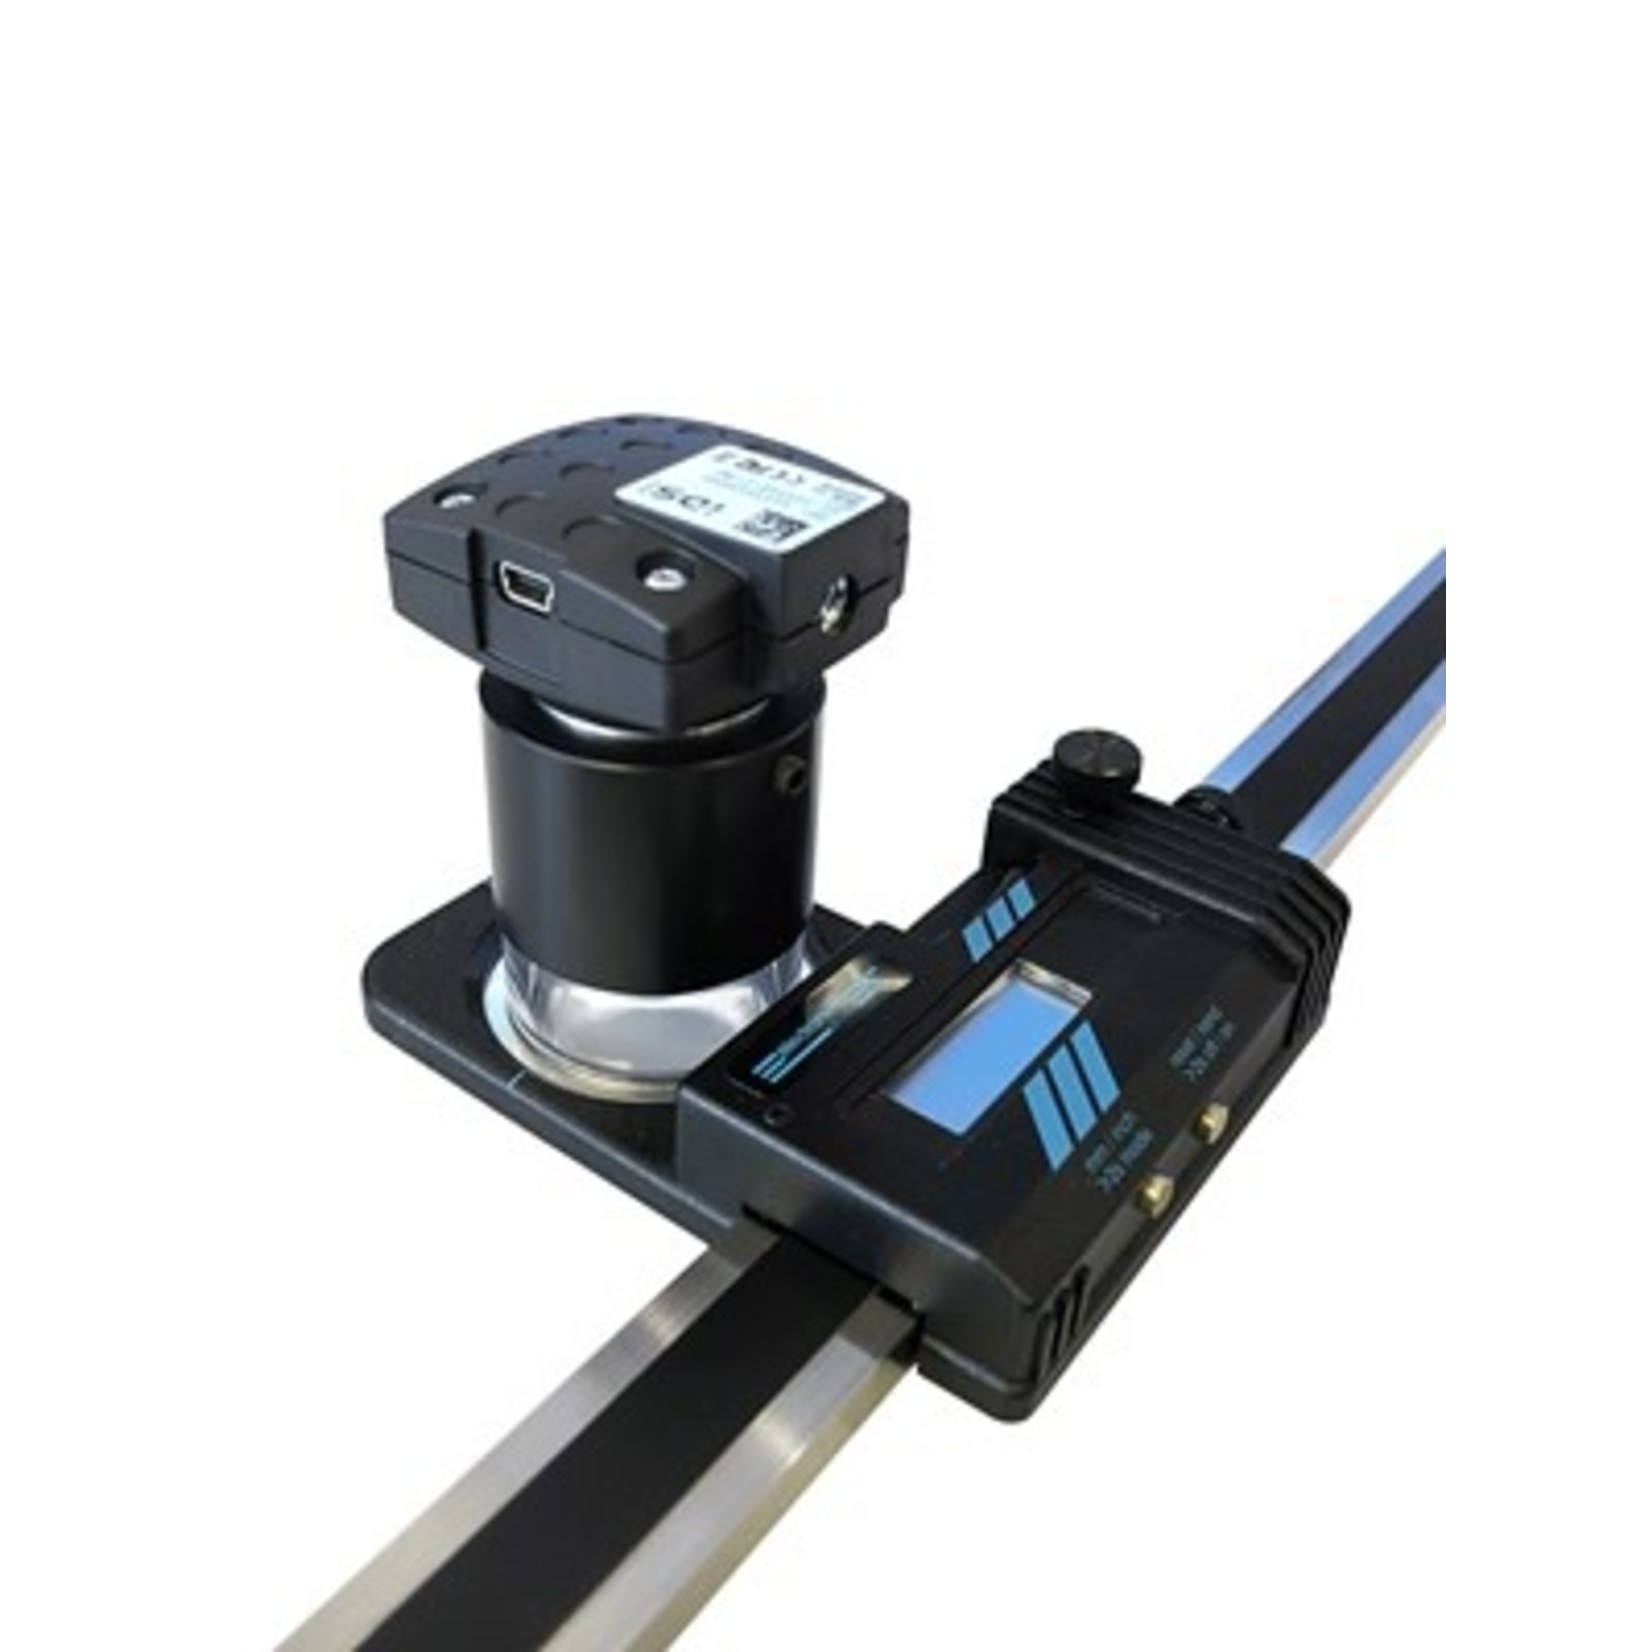
Display of data on computer possible in Excel with software available as option. The two lateral positioning slides facilitate quick, parallel alignment of the scale with the item to be measured. Model variety: Seven measuring lengths available from 180 to 1500 millimetres. Three types of reticule plates and various optical system complete the range. In addition to the reticule plate mentioned above, the PCB scale can be used exclusively for measuring hole intervals. Use of a standard 10x magnifier (ES version) is always required for the PCB scale. If a microscope is also to be used for particularly exact determination of the measuring point, it is possible to turn the microscope adapter so that the light beam passes through the free point in the scale. Reason: The 25x and 50x microscopes available as accessories, have their own scale with graduations and cross-hairs, which intersect the PCB scale. If it is known that very fine positioning is required, the ESM version with 25x or 50x microscope should be used from the very beginning. The electronic scale can be ordered with a video system for series measurements. The ES version can even be retrofitted with the USB video camera. Moving the to measuring points does not require assuming a bent posture over the microscope, relieving your back and eyes. It is then possible to move to the measuring points using the reticule plate or the measuring software reference functions.
The data
Available standard lengths:
180 mm / 7 Inch
300 mm / 12 Inch
500 mm / 20 Inch
800 mm / 32 Inch
1000 mm / 40 Inch
1300 mm / 52 Inch
1500 mm / 60 Inch
Resolution: 0.01 mm / 0.0005 Inch
Repetition accuracy: 0.01 mm
Error band width: up to 500 mm = 0.03 mm
up to 800 mm = 0.04 mm
up to 1000 mm = 0,05 mm
up to 1300 mm = 0,10 mm
up to 1500 mm = 0,15 mm
LCD display, lithium battery 3V, Life expectancy approx. 4000 h
Temperature range: +10 to +40°C
RS232 compatible interface
Reticule plate: Standard or PCB
Optical systems:
Type ES 10x magnifier
Type ESM-25 25x microscope
Type ESM-50 50x microscope
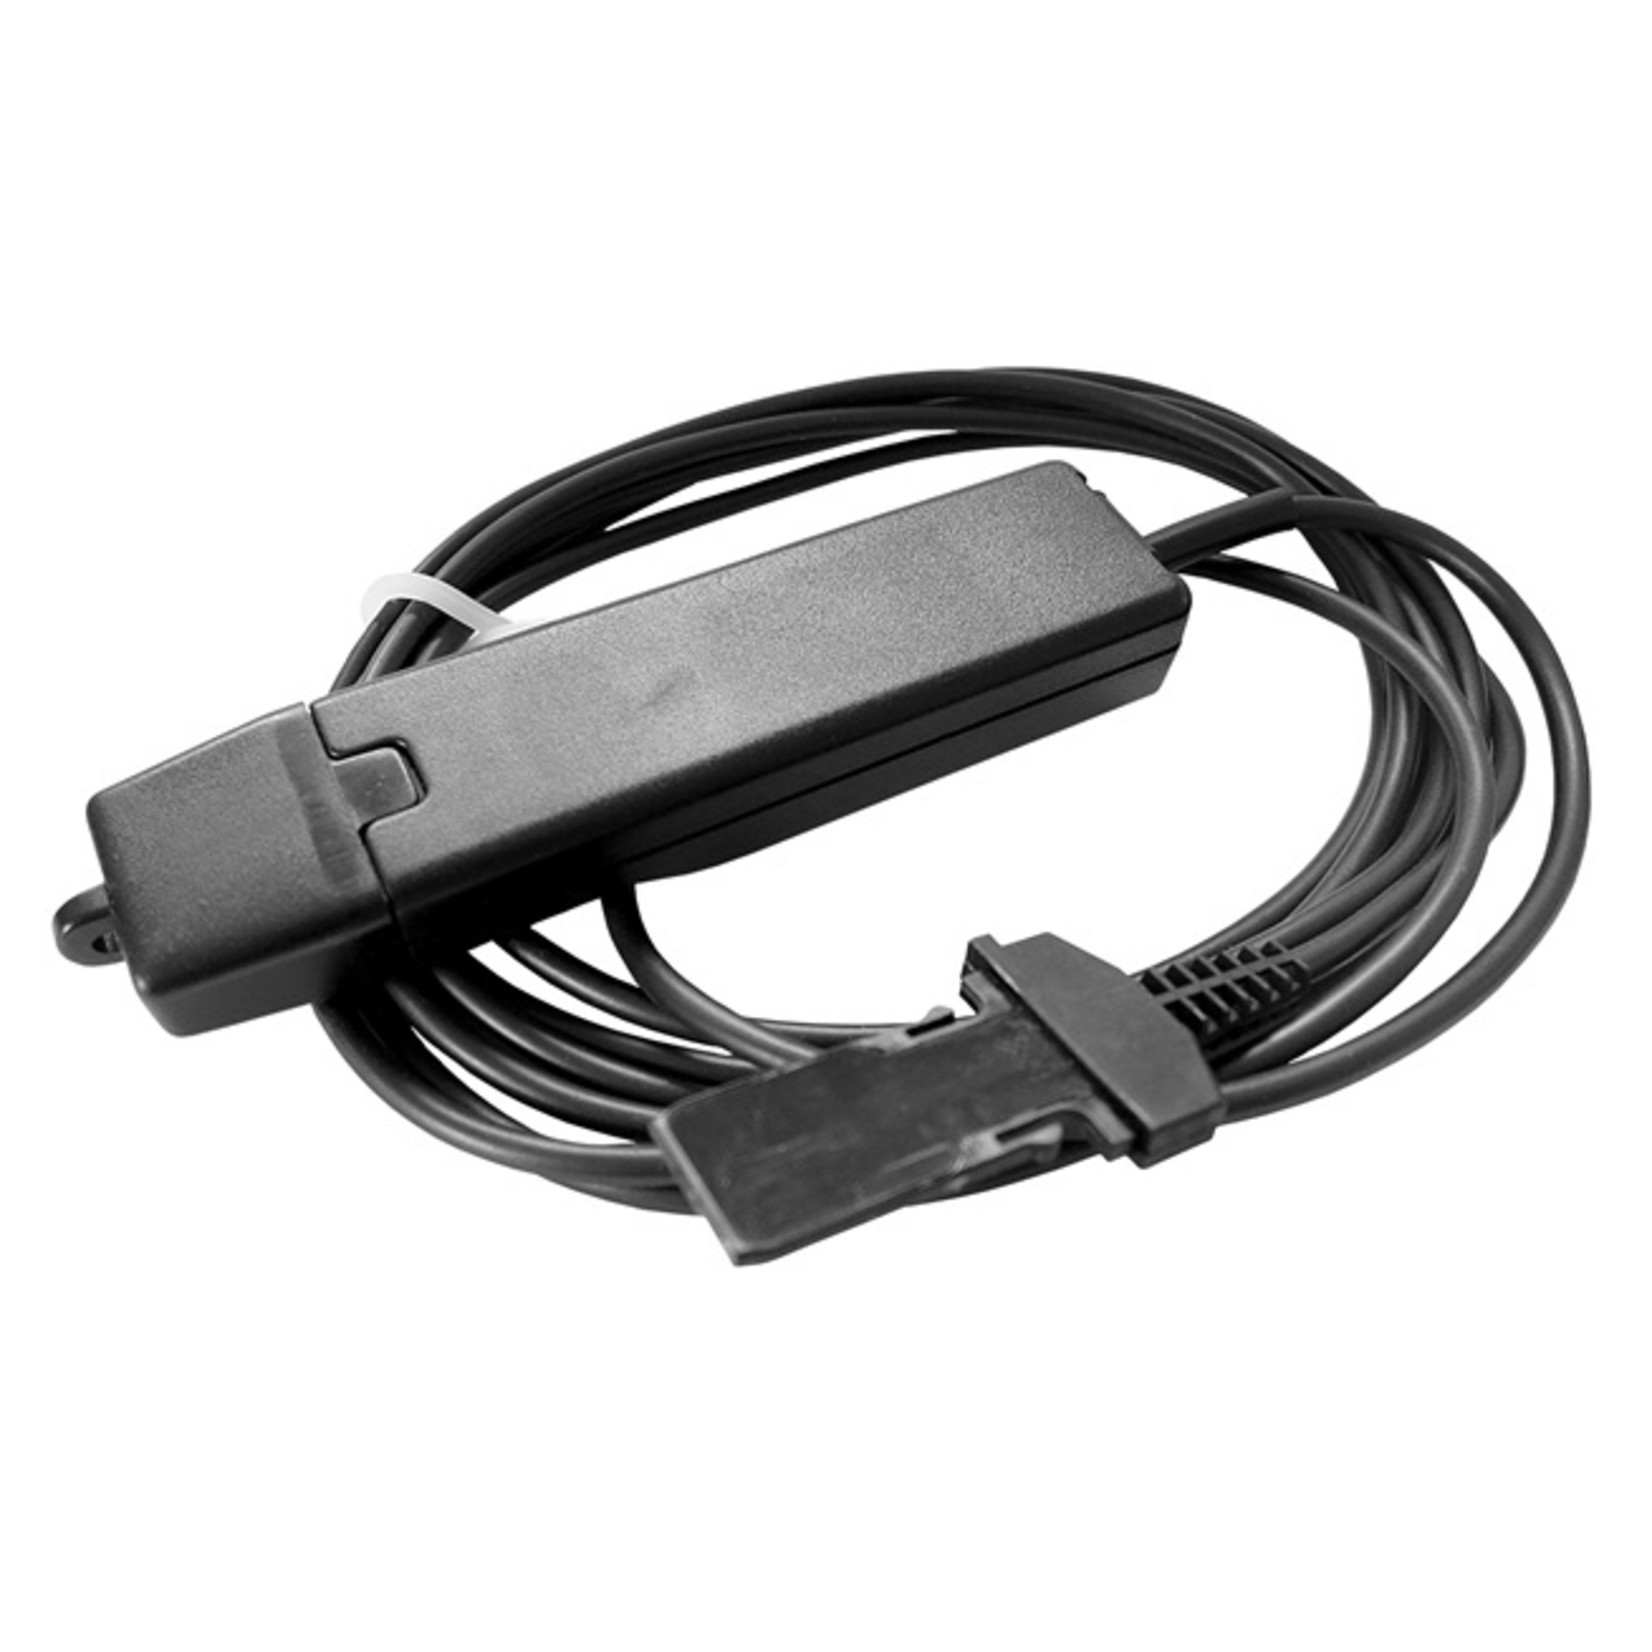
Data cable OPTO-USB-0 for Electronic Scale
The data cable we use is a USB keyboard interface and measuring tool cable in a single device. The power is supplied via the USB interface. No driver file is required for the USB interface. The USB interface is detected as a keyboard. Terminators such as Enter or Tab etc. can be set on the USB interface and are automatically sent at the same time. Other settings such as language, separator and timer are possible. Data button on the measuring tool for data transmission or by timer. The data cable can be used for Windows 10 and is backwards compatible.
Important note: The electronics of the E-Scale can be damaged over time by dirt on the guide rod that has not been removed. In the event of a defect, the error message "Err.0" is normally displayed. Since it may not be a total failure of the electronics, but a battery change, the following work should be done before sending in the Electronic Scale:
- Spray a lint-free cloth with Enavit-n (do not soak!) and wipe the entire length of the guide rod/inductive tape.
- Set fine adjustment screw [13] to middle position (green band).
- Remove housing [17]
- Remove end cap for data output [9].
- Replace battery (ensure good quality, e.g. Panasonic CR2032)
- depending on the age of the device/electronic unit (V4 or V5), the unit must be "reset".
- Mount housing [17] (Attention! There must be no pressure or tension on individual components!)
- Insert end cap for data output [9] (always last!)
This procedure is described in the operating instructions and provided with corresponding pictures. You will find the operating instructions under "Operating Instructions and Documentation" in our "Electronic Scale" category.


